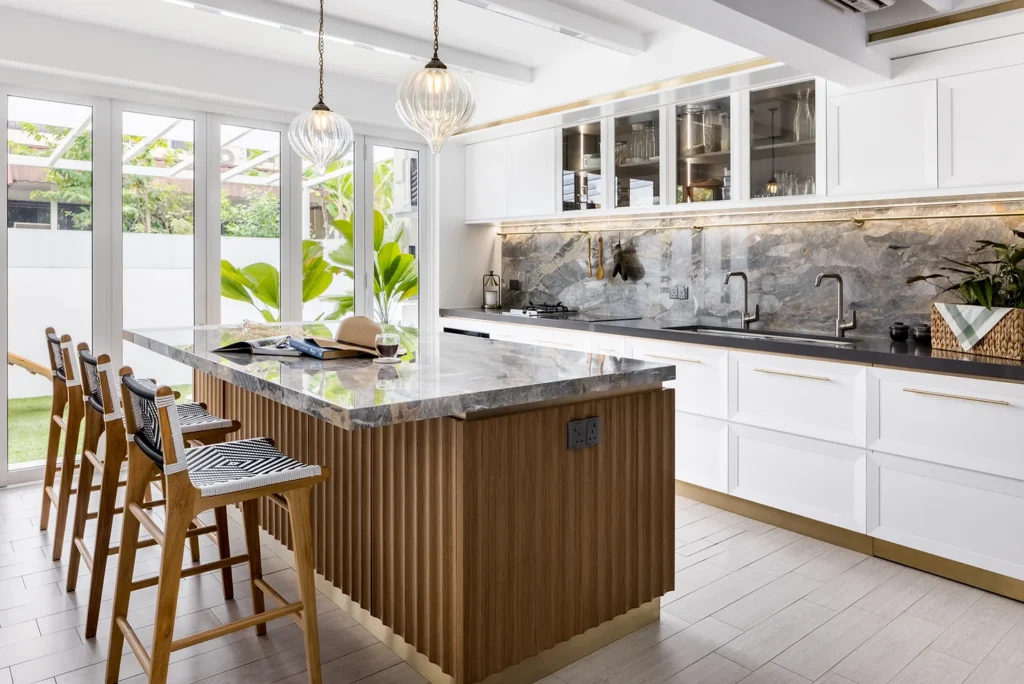
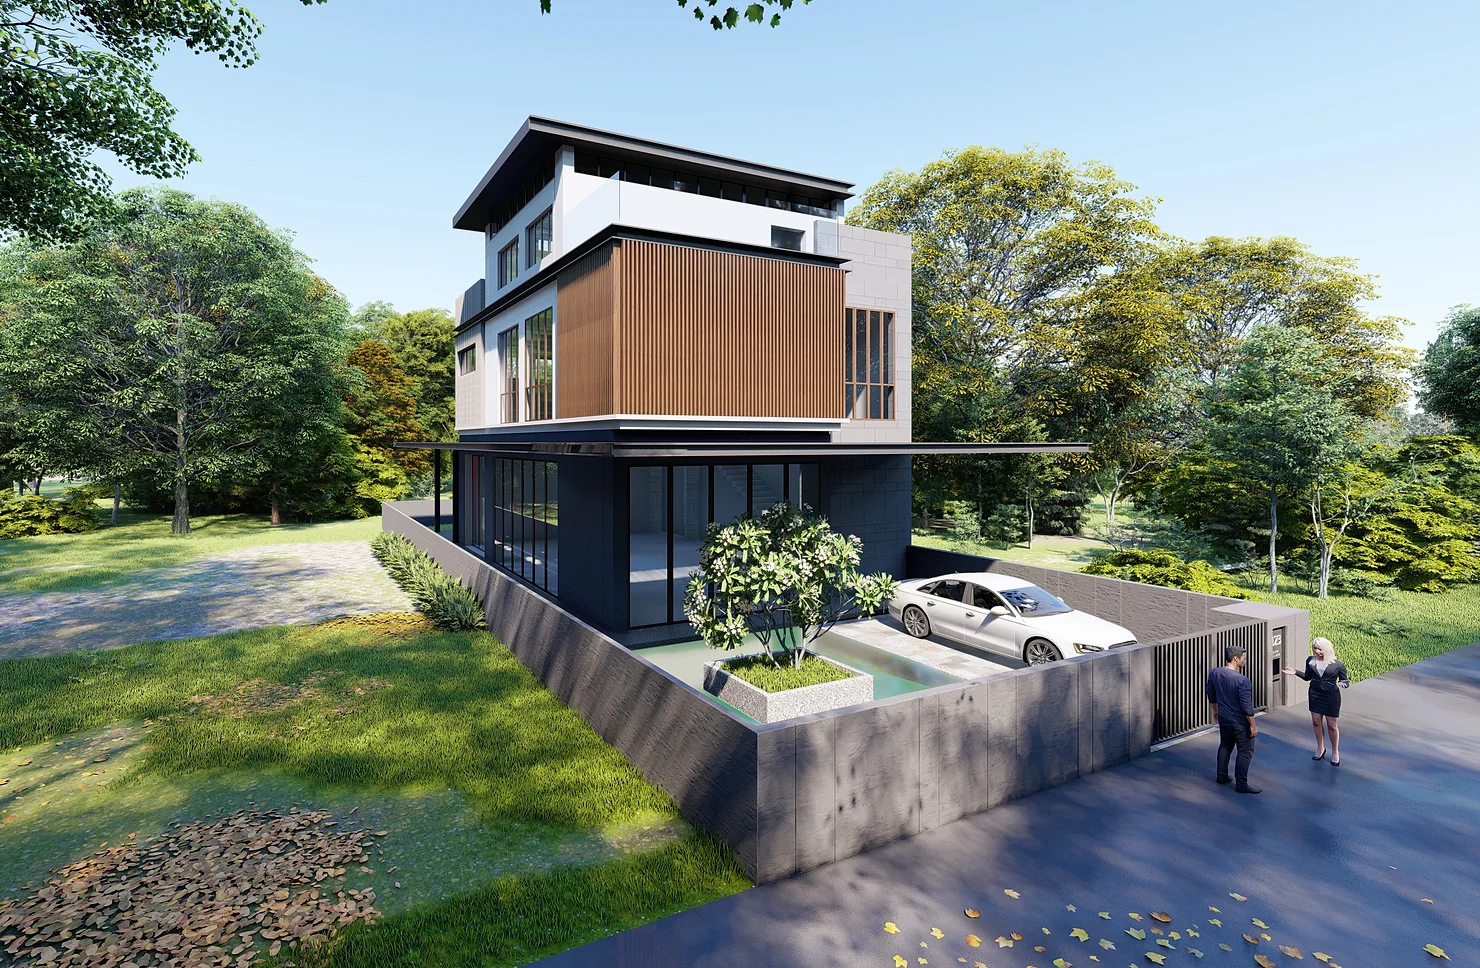
Having received your new house keys, the process of realizing your Pinterest board ideas as part of your new dream home is daunting but immensely gratifying. At Haus Atelier, we are engaged by our clients to translate dreams into reality in a stress-free manner. If you’re considering Home Renovation planning in Singapore, we can help make the process smooth and enjoyable.
As a renovation contractor, we obviously have a lot of experience in house renovations. So, we’ve compiled our own checklist as a guide to help uncover the home-owning journey in Singapore. Hopefully, it helps to give your own home renovation plans a little more clarity.
House Renovation Checklist

Before we get started, it’s important to remember that each renovation project is unique. So use this checklist as a flexible framework that can be adapted to your specific needs, property type, and renovation scope.
Whether you’re updating a HDB flat, refreshing a condo, or transforming a landed property, proper planning will help ensure a smoother renovation experience and a result that truly reflects your vision.
1 Year from Move In
- Decide on the type of property – HDB, Condo, Landed, Resale, New-Built, A&A etc.
- Number of Rooms and Bathrooms required (future-proof).
- Consider the location – near good schools, near MRT, closer to parents.
- Make a list of the ‘must-haves’ vs ‘nice-to-have’ elements of the new house.
- Map a Timeline.
- Fix a Budget.
- Start a Pinterest board to curate your personal taste, lifestyle.
- Plan your accommodation during the renovation.
- Contact property agents, go property shopping.
A year before you move in, you should be nailing down your budget. If you want to play it safe, this should include ensuring you have a safety net of 10-20% incase you stretch your budget past its limits. Though this may sound simple, this can take months to plan in full, so it’s important for you to be prepared.
The essentials, like location and the number of bedrooms and bathrooms, are a given. However, creating a timeline for your renovation process is a good way to make sure that you don’t miss anything small that can be just as important, like finding somewhere to stay during the renovation.
9 Months Out
- Shortlist 2/3 properties.
- Before accepting your best fit property, we advise our clients to carry out a property health check first to ensure there is no hidden defects. A lot of the most expensive issues to a property tend to be ones you cannot see and sometimes the property agent may not point these out to you.
- Get a home loan – take note that factors, such as building completion, can affect the loan package.
Getting a loan for a house renovation early is especially important. The last thing you want is to put the wheels in motion without having your financial backing in place.
While shortlisting properties and securing your home loan, it’s a good idea to try and consider how each potential property aligns with your renovation plans and budget.
Take time to try and envision how you might transform each space to meet your needs. This doesn’t need to be perfect, but a general idea of the work that needs to be done can help you to get the right property for your needs.
8 – 6 Months Out
- Depending on the property type and scope of work, there may be longer or shorter than 6 months to renovate the property.
- Get a floor plan from BCA.
- Equipped with a floor plan, ideas and budget, approach some firms for a consultation to discuss design, materials and what they can do for your budget.
- Make sure you feel comfortable working with your ID firm – it should feel like a partnership with communication working both ways throughout.
- Check requirements for Authority Approvals, engage Qualified Person if submission is required.
Now is the time to look at potential interior design firms and contractors to see who’s the best fit for your renovation.
It’s important to ensure that you find someone that is able to work within your budget and timeline. In some cases, you can opt for Design and Build, which uses the same firm for both interior design and construction.
Remember that you’re more than welcome to ask for detailed breakdowns of costs and timelines, as it’s important that you’re all on the same page. Making sure you both understand each other early is vital and can help to make sure that the renovation process goes smoothly.
3– 4 Months Out
- This time is working solely with your ID firm of choice narrowing down designs and materials for your house renovation.
- Confirm the numbers before starting construction works.
At this point, you should be working with your chosen ID firm to finalise designs and materials. It’s crucial to maintain communication, as there could be necessary adjustments that need to be made.
ThIs can range from issues with your current plan to new ideas that may arise during this phase – some things are set in stone, and others you can be flexible with. This is why we recommend creating a detailed timeline that outlines major milestones, which can help to keep the project on track.
To make sense of your renovation or rebuilding situation, drop us a call or book an appointment so we can advise your best next steps.
Key Aspects of your Home Renovation Not to Miss
Worried you’re going to forget something? The less experienced you are with home renovations, the more likely this is to happen. After completing many renovations, we find that clients tend to run into the same issues – here’s the ones that we come across most often.
1. Conduct a Home Inspection (early) before Renovating
It is recommended (but not a must) to have a licensed home inspector inspect a new home before purchasing or during early phases of construction when more of the house is visible.
Due to the complexity of the house structure and many facets needed to work in tandem, a professional walk-through and assessment is important and ensures a peace of mind.
Here are some examples of common issues found during inspection:
- Moulding walls and ceiling
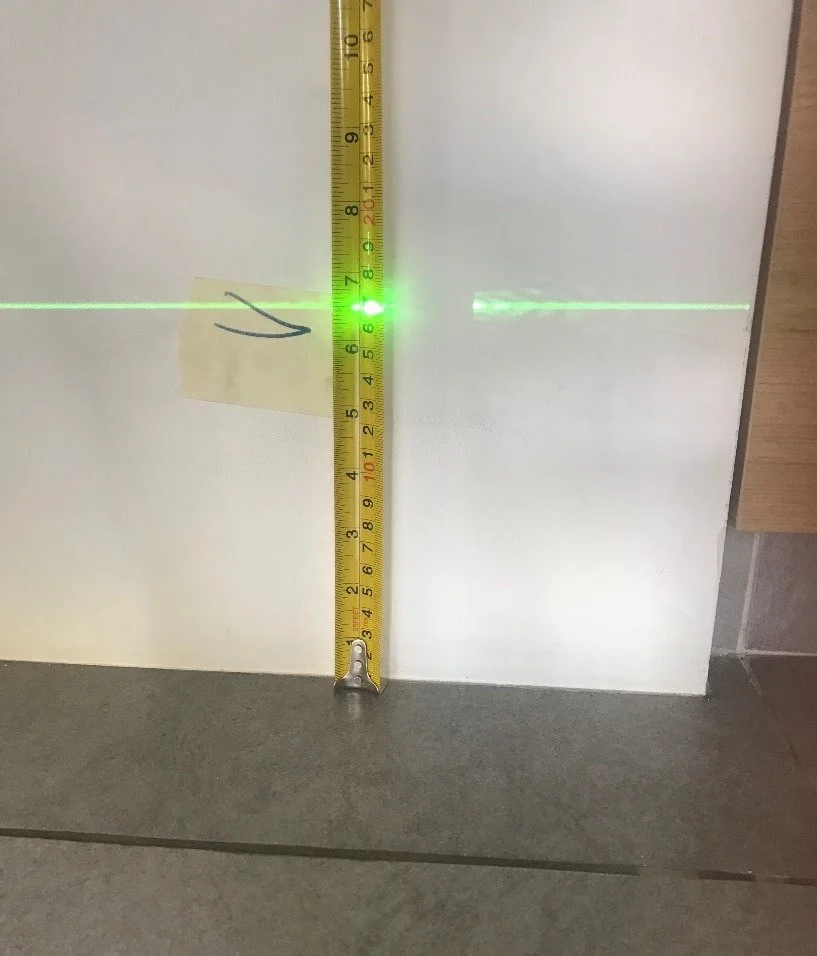
- Unevenness in floor levels
- Cracks in floor/walls
- Gaps in parquet flooring
- Roof leakage
- Plumbing issues, low water pressure
- Old Air-con units, water heater
- Outdated Electrical Wiring
- Asbestos material in old buildings
- Rusty window hinges
One can never truly know the quality of workmanship from previous renovations; even a brand-new condo may come laden with defects due to a rushed completion.
While there is a stipulated defects liability period for the developer (for new condos) to rectify your laundry list of repairs; depending on the extent of your list, the seller could choose to do only a some of the smaller repairs, leaving you to handle remaining repairs at your own cost.
In purchasing a landed property, the list may be comparatively longer, as the building is more exposed to external factors such as weather, vermin and the land it sits upon.

For a more detailed guide, check out BCA’s Quality Homes: A Homeowner’s Guide
2. Acquire Approvals from Authorities
Upon purchase of their home, home owners are generally beyond eager to move in. Often, this means they forgot to factor in sufficient time to obtain necessary clearances from authorities in the early planning stages, prior to construction.
Different property types will require difference clearance of building works from various authorities:
For strata-subdivided buildings (condos), the owner is advised to consult the Management Corporation (MCST) before commencement of works.
For landed homes, according to the Building and Construction Authority (BCA), the local Building Control Act exempts certain minor building works and alterations from plan approval or a permit for carrying out building works from the Commissioner of Building Control.
However, re-construction and new-erections on private property will require a Planning Clearance from URA, and also Building Plan approval from all technical departments (BCA, NEA, PUB, LTA, NPARKS .
A Qualified Person (QP) is to be appointed at this point to ensure works comply with all the planning requirements, carry out the submissions and obtain all clearances with all technical departments.
As this process takes time, it is better to engage the Interior Designer early on to streamline the design process prior to submission of plans.
3. List your Must-Haves and Things To Upgrade
Before renovating your home in Singapore, it comes down to the definition of ‘dream home’, some home owners have it all figured out – from their lifestyle to their Pinterest board to even the paintings to be put up on new walls.
For others who are not quite there yet, one can start with the simple but important task of making a list of ‘must-haves’, which will inform a clear design brief for your Interior Designer to interpret and transform into your ‘dream home’.
Beyond basic requirements like number of bedrooms and bathrooms, tune in to the lifestyle you seek to create that is truly yours.
If you are a nature advocate seeking to create a green respite from urban living, invest in your landscaping, be it creating a planting bed, a feature tree or green wall. If you are huge on cooking and hosting, list down your ideal kitchen features.
There are also upgrading options to consider in your budget, some arising from he defects/ issues spotted earlier in your building inspection, like replacing your Air-con units to a more energy-efficient models, up-grading to LED lighting fixtures, polishing old parquet floors, changing WC seats, replacing main door.
With planning, simple actions without drastic layout can is also able to breathe new life into a room and make the property feel truly yours.
Having received your new house keys, the process of realizing your Pinterest board ideas as part of your new dream home is daunting but immensely gratifying. At Haus Atelier, we are engaged by our clients to translate dreams into reality in a stress-free manner. If you’re considering Home Renovation planning in Singapore, we can help make the process smooth and enjoyable.
As a renovation contractor, we obviously have a lot of experience in house renovations. So, we’ve compiled our own checklist as a guide to help uncover the home-owning journey in Singapore. Hopefully, it helps to give your own home renovation plans a little more clarity.
House Renovation Checklist

Before we get started, it’s important to remember that each renovation project is unique. So use this checklist as a flexible framework that can be adapted to your specific needs, property type, and renovation scope.
Whether you’re updating a HDB flat, refreshing a condo, or transforming a landed property, proper planning will help ensure a smoother renovation experience and a result that truly reflects your vision.
1 Year from Move In
- Decide on the type of property – HDB, Condo, Landed, Resale, New-Built, A&A etc.
- Number of Rooms and Bathrooms required (future-proof).
- Consider the location – near good schools, near MRT, closer to parents.
- Make a list of the ‘must-haves’ vs ‘nice-to-have’ elements of the new house.
- Map a Timeline.
- Fix a Budget.
- Start a Pinterest board to curate your personal taste, lifestyle.
- Plan your accommodation during the renovation.
- Contact property agents, go property shopping.
A year before you move in, you should be nailing down your budget. If you want to play it safe, this should include ensuring you have a safety net of 10-20% incase you stretch your budget past its limits. Though this may sound simple, this can take months to plan in full, so it’s important for you to be prepared.
The essentials, like location and the number of bedrooms and bathrooms, are a given. However, creating a timeline for your renovation process is a good way to make sure that you don’t miss anything small that can be just as important, like finding somewhere to stay during the renovation.
9 Months Out
- Shortlist 2/3 properties.
- Before accepting your best fit property, we advise our clients to carry out a property health check first to ensure there is no hidden defects. A lot of the most expensive issues to a property tend to be ones you cannot see and sometimes the property agent may not point these out to you.
- Get a home loan – take note that factors, such as building completion, can affect the loan package.
Getting a loan for a house renovation early is especially important. The last thing you want is to put the wheels in motion without having your financial backing in place.
While shortlisting properties and securing your home loan, it’s a good idea to try and consider how each potential property aligns with your renovation plans and budget.
Take time to try and envision how you might transform each space to meet your needs. This doesn’t need to be perfect, but a general idea of the work that needs to be done can help you to get the right property for your needs.
8 – 6 Months Out
- Depending on the property type and scope of work, there may be longer or shorter than 6 months to renovate the property.
- Get a floor plan from BCA.
- Equipped with a floor plan, ideas and budget, approach some firms for a consultation to discuss design, materials and what they can do for your budget.
- Make sure you feel comfortable working with your ID firm – it should feel like a partnership with communication working both ways throughout.
- Check requirements for Authority Approvals, engage Qualified Person if submission is required.
Now is the time to look at potential interior design firms and contractors to see who’s the best fit for your renovation.
It’s important to ensure that you find someone that is able to work within your budget and timeline. In some cases, you can opt for Design and Build, which uses the same firm for both interior design and construction.
Remember that you’re more than welcome to ask for detailed breakdowns of costs and timelines, as it’s important that you’re all on the same page. Making sure you both understand each other early is vital and can help to make sure that the renovation process goes smoothly.
3– 4 Months Out
- This time is working solely with your ID firm of choice narrowing down designs and materials for your house renovation.
- Confirm the numbers before starting construction works.
At this point, you should be working with your chosen ID firm to finalise designs and materials. It’s crucial to maintain communication, as there could be necessary adjustments that need to be made.
ThIs can range from issues with your current plan to new ideas that may arise during this phase – some things are set in stone, and others you can be flexible with. This is why we recommend creating a detailed timeline that outlines major milestones, which can help to keep the project on track.
To make sense of your renovation or rebuilding situation, drop us a call or book an appointment so we can advise your best next steps.
Key Aspects of your Home Renovation Not to Miss
Worried you’re going to forget something? The less experienced you are with home renovations, the more likely this is to happen. After completing many renovations, we find that clients tend to run into the same issues – here’s the ones that we come across most often.
1. Conduct a Home Inspection (early) before Renovating
It is recommended (but not a must) to have a licensed home inspector inspect a new home before purchasing or during early phases of construction when more of the house is visible.
Due to the complexity of the house structure and many facets needed to work in tandem, a professional walk-through and assessment is important and ensures a peace of mind.
Here are some examples of common issues found during inspection:
- Moulding walls and ceiling
- Unevenness in floor levels
- Cracks in floor/walls
- Gaps in parquet flooring
- Roof leakage
- Plumbing issues, low water pressure
- Old Air-con units, water heater
- Outdated Electrical Wiring
- Asbestos material in old buildings
- Rusty window hinges
One can never truly know the quality of workmanship from previous renovations; even a brand-new condo may come laden with defects due to a rushed completion.
While there is a stipulated defects liability period for the developer (for new condos) to rectify your laundry list of repairs; depending on the extent of your list, the seller could choose to do only a some of the smaller repairs, leaving you to handle remaining repairs at your own cost.
In purchasing a landed property, the list may be comparatively longer, as the building is more exposed to external factors such as weather, vermin and the land it sits upon.

For a more detailed guide, check out BCA’s Quality Homes: A Homeowner’s Guide
2. Acquire Approvals from Authorities
Upon purchase of their home, home owners are generally beyond eager to move in. Often, this means they forgot to factor in sufficient time to obtain necessary clearances from authorities in the early planning stages, prior to construction.
Different property types will require difference clearance of building works from various authorities:
For strata-subdivided buildings (condos), the owner is advised to consult the Management Corporation (MCST) before commencement of works.
For landed homes, according to the Building and Construction Authority (BCA), the local Building Control Act exempts certain minor building works and alterations from plan approval or a permit for carrying out building works from the Commissioner of Building Control.
However, re-construction and new-erections on private property will require a Planning Clearance from URA, and also Building Plan approval from all technical departments (BCA, NEA, PUB, LTA, NPARKS .
A Qualified Person (QP) is to be appointed at this point to ensure works comply with all the planning requirements, carry out the submissions and obtain all clearances with all technical departments.
As this process takes time, it is better to engage the Interior Designer early on to streamline the design process prior to submission of plans.
3. List your Must-Haves and Things To Upgrade
Before renovating your home in Singapore, it comes down to the definition of ‘dream home’, some home owners have it all figured out – from their lifestyle to their Pinterest board to even the paintings to be put up on new walls.
For others who are not quite there yet, one can start with the simple but important task of making a list of ‘must-haves’, which will inform a clear design brief for your Interior Designer to interpret and transform into your ‘dream home’.
Beyond basic requirements like number of bedrooms and bathrooms, tune in to the lifestyle you seek to create that is truly yours.
If you are a nature advocate seeking to create a green respite from urban living, invest in your landscaping, be it creating a planting bed, a feature tree or green wall. If you are huge on cooking and hosting, list down your ideal kitchen features.
There are also upgrading options to consider in your budget, some arising from he defects/ issues spotted earlier in your building inspection, like replacing your Air-con units to a more energy-efficient models, up-grading to LED lighting fixtures, polishing old parquet floors, changing WC seats, replacing main door.
With planning, simple actions without drastic layout can is also able to breathe new life into a room and make the property feel truly yours.


